The Weekend Baker
 cookbook just has so many wonderful recipes that I want to try. It is also has good tips and lists to help with baking.
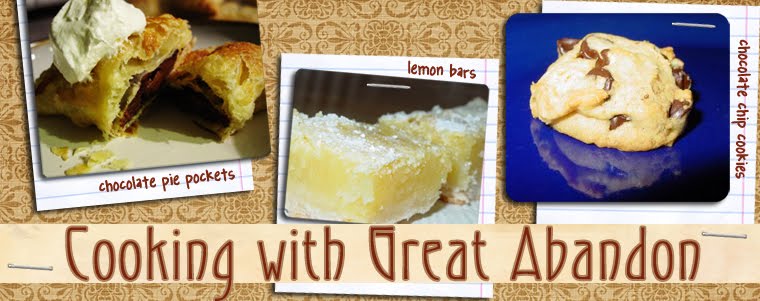
In the book, these are called Half-Moon Pie Pockets but I realized after making a few circles that just cutting them into rectangles and making little square pockets would be much easier. This recipes is exactly how it is in the book. I will make notes at the bottom. I made some chocolate pie pockets and some pumpkin pie pockets.
Half-Moon Pie Pockets2 sheets frozen puff pastry, 9-½ inches square each
1 large egg, lightly beaten
2 tablespoons granulated sugar
For chocolate-nut filling:
1 cup chopped bittersweet chocolate or semi-sweet chocolate chips
1/3 cup chopped nuts (pecans, walnuts or hazelnuts)
For the pumpkin-spice filling:
1 cup plus 2 tablespoons (9 ounces/ 255 grams) canned solid pack pumpkin (not seasoned pumpkin pie filling)
3 tablespoons firmly packed light brown sugar
2 tablespoons all-purpose flour
¾ teaspoon ground cinnamon
½ teaspoon ground ginger
½ teaspoon ground nutmeg
1. Remove both sheets of frozen puff pastry from the box, set them on a lightly floured surface, and cover with plastic wrap. Do not unfold at this point. Let the covered puff pastry sit on the countertop until thawed and just pliable, about 20 minutes.
2. Meanwhile, position the oven rack on the middle rung. Heat the oven to 425 degrees (220 c). Line 2 half sheet pans with parchment or spray with cooking spray. Have ready the beaten egg and the 2 tablespoons of granulated sugar.
3. On a lightly floured work surface, carefully unfold the puff pastry. Dust the top of the pastry with a little flour. Roll out each sheet, lightly dusting with flour as needed to prevent the dough from sticking to the rolling pin and work surface, into a 12- inch (30.5cm) square. Using a 4-inch (10 cm) round cookie cutter (or the bottom of a 29- ounce tomato can as a guide), cut into 18 circles. Peel away the scraps and cover the rounds with plastic wrap while preparing the filling.
4. For the pumpkin spice filling, combine the ingredients in a medium bowl and stir until well blended.
5. Place about 1 tablespoon filling on the center of the round. Brush the edge of the dough with the egg. Fold half of the dough over the filling to form a half-moon. Using the tines of the fork, press the curved edge to seal tightly. Repeat with the remaining rounds. (At this point, the pie pockets can be covered with plastic wrap and refrigerated for up to 8 hours or frozen for up to 1 month before proceeding with the recipe.)
6. Arrange the pockets on the prepared sheet pans, spacing them about 2 inches apart. Brush the tops with the remaining egg and sprinkle evenly with the granulated sugar. Bake until pastry is puffed and browned, 20 to 25 minutes. Transfer the sheet pans to racks to cool. Serve warm.
Storage: You can bake the pie pockets up to 6 hours ahead and reheat them in a 300 degree (150 C) oven until warm. About 15 minutes.
 NOTES
NOTES* I didn't make as much filling because I wanted to do two different kinds of filling. I think I cut each filling recipe in half. I didn't do nuts in the chocolate as Michael doesn't like nuts. I also used a mixture several types of chocolate chips - dark, semi-sweet and milk.
* As I said above I made some rounds and then the rest square. I just cut the dough in rectangles and then folded over to make square pockets.
* I didn't warm back up before serving. Just topped with some whipped cream and ate. Yum!
* I also think doing apple pie filling or cherry would be very good. And so easy.
* I think having some in the freezer and taking a few out when needing something fairly quickly would be great.